|
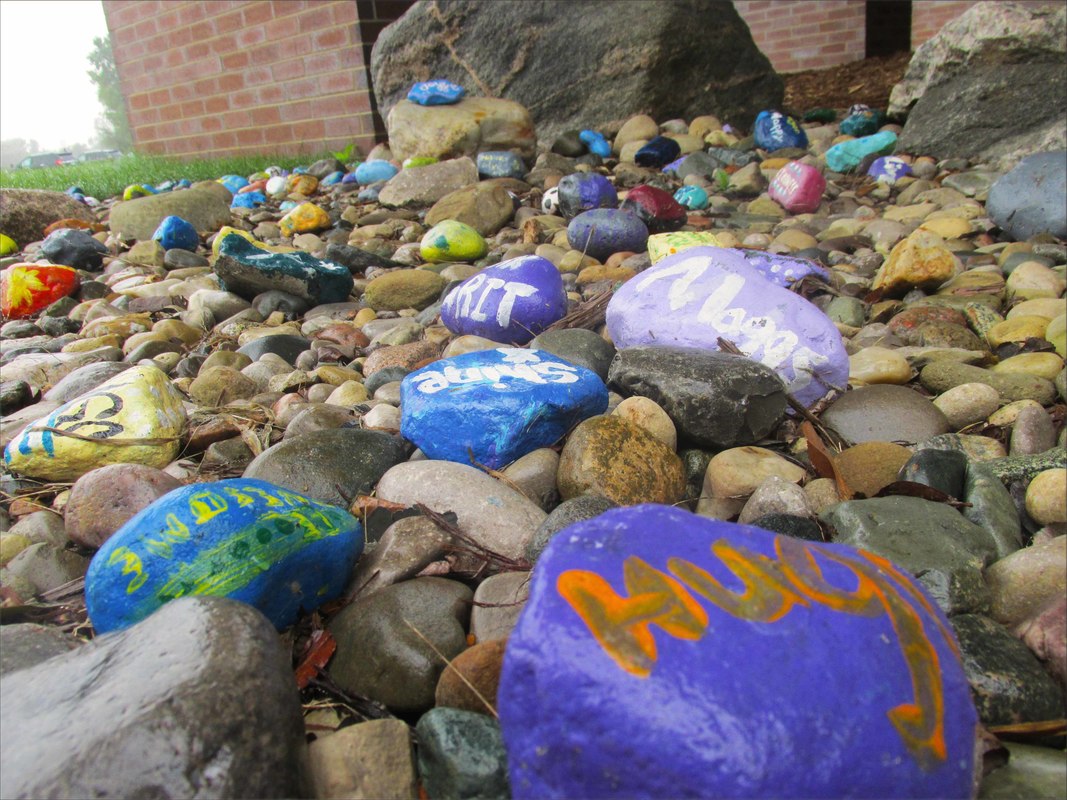
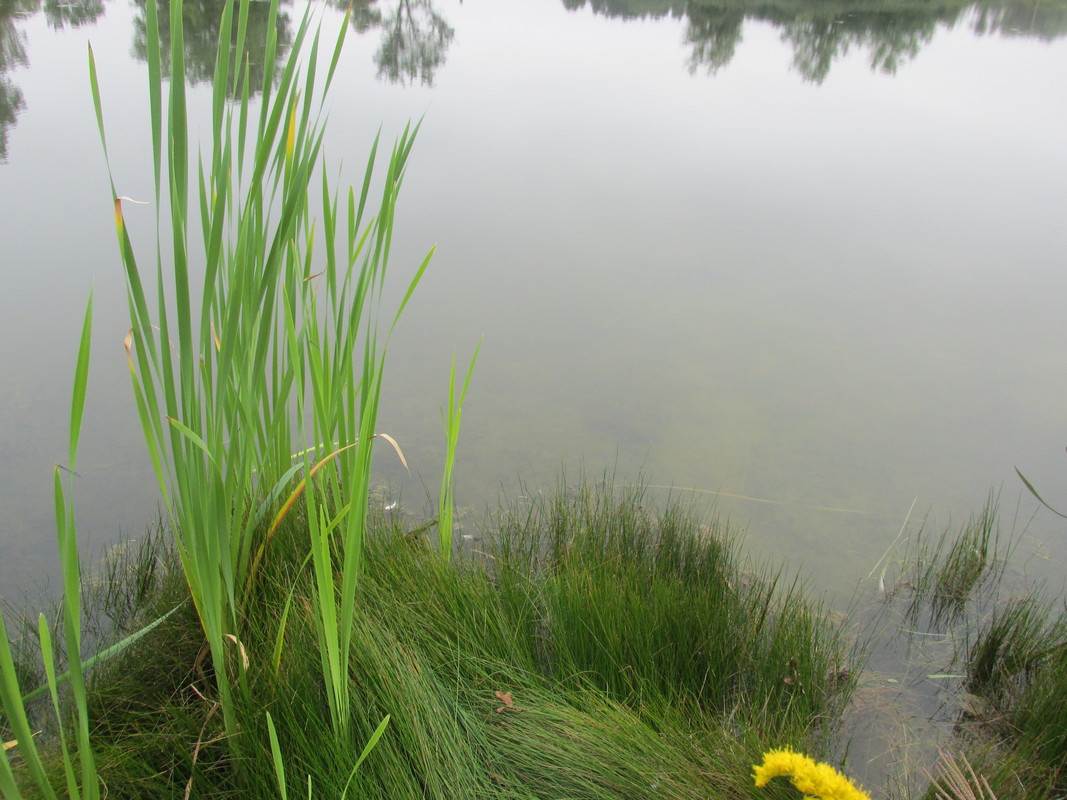
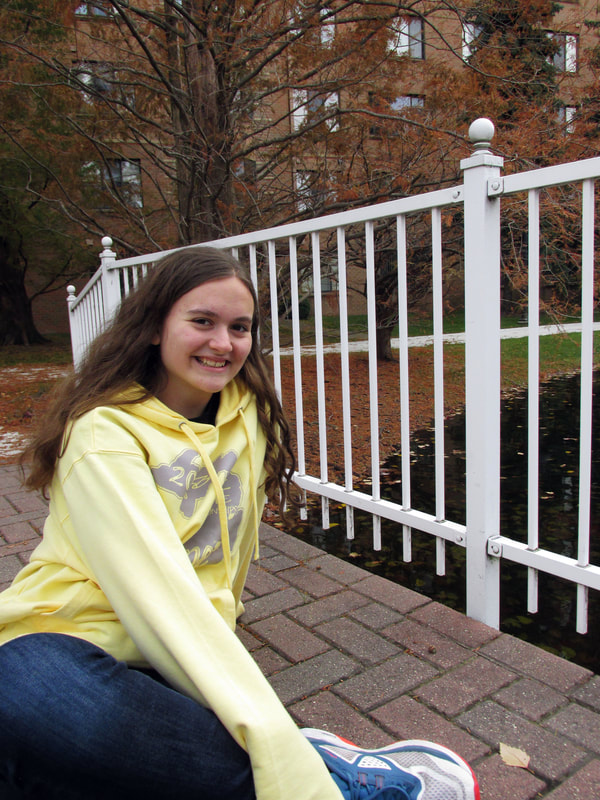
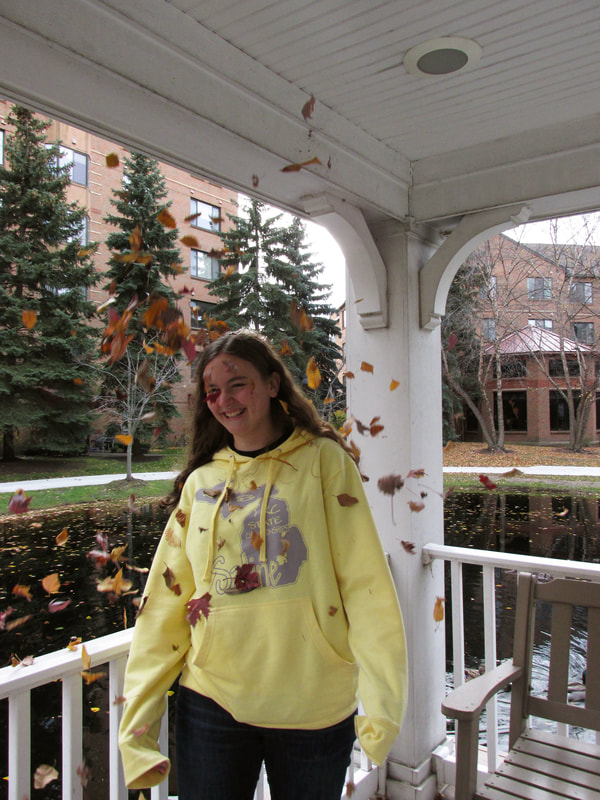
I first walked into the digital photography room as a student. The only past photography experience I'd had was with my phone, and my Photoshop skills were second to none. I was, to say the least, a beginner. Our very first shooting assignment was simple; Go outside and take some photos. Here is what I came up with-
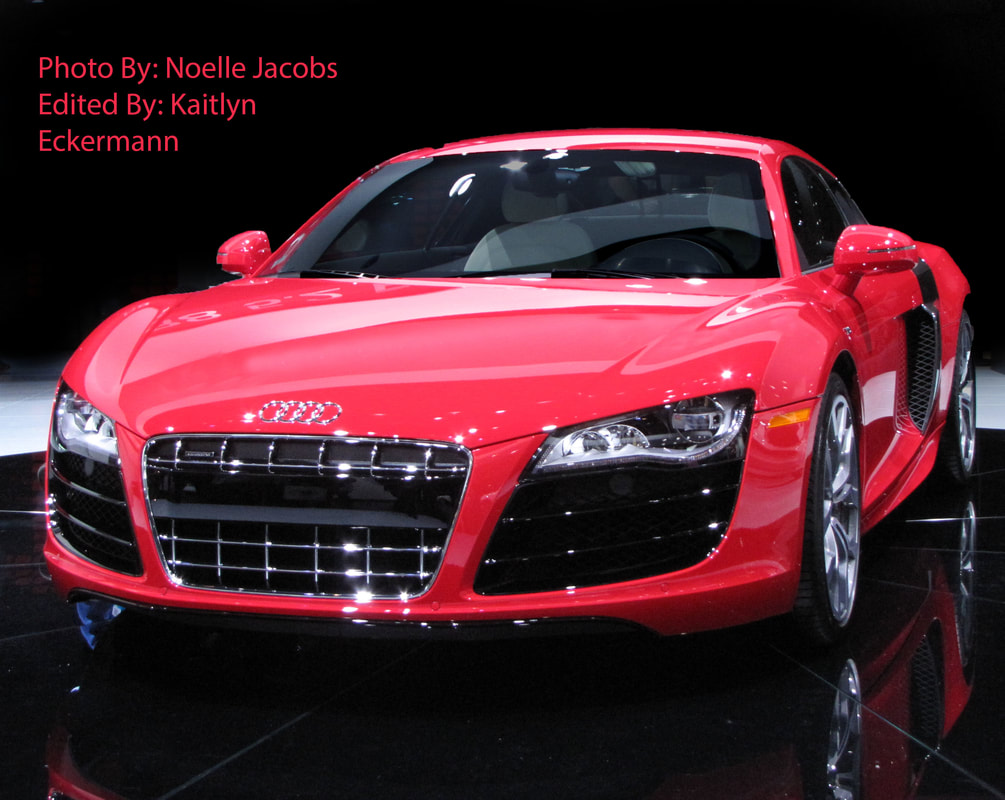
Not my worst, and most certainly not my best. I had a lot of room to grow and a lot of techniques to learn. Our first big Photoshop assignment was the car retouching photo. To be completely honest, at the time, I thought I hated Photoshop. Nothing seemed to look the way it should, and I kept getting more and more frustrated. However, as time went on, I got better and better at navigating Photoshop and its many tools.
Mr. O'Donnel's photography 1 class has not only taught me the mechanical aspects of photography (Aperture, shutter speed, ISO, etc.), it has taught me to spot photography opportunities in every setting, and to develop my own artistic style.
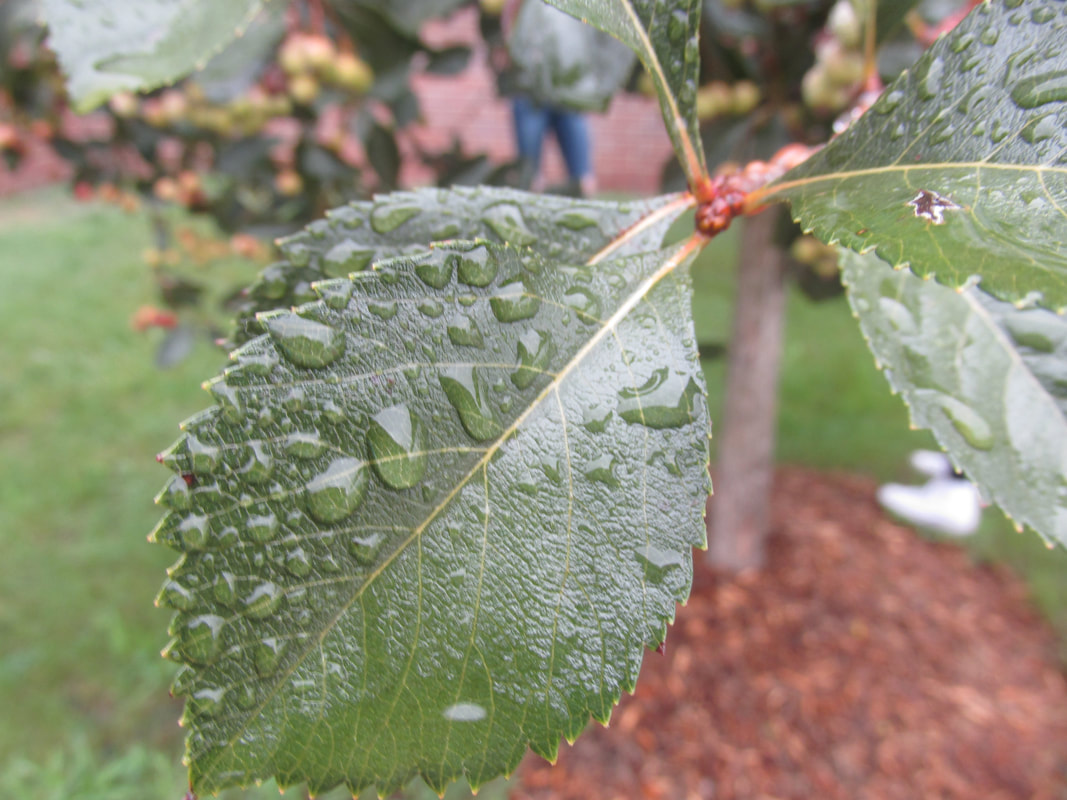
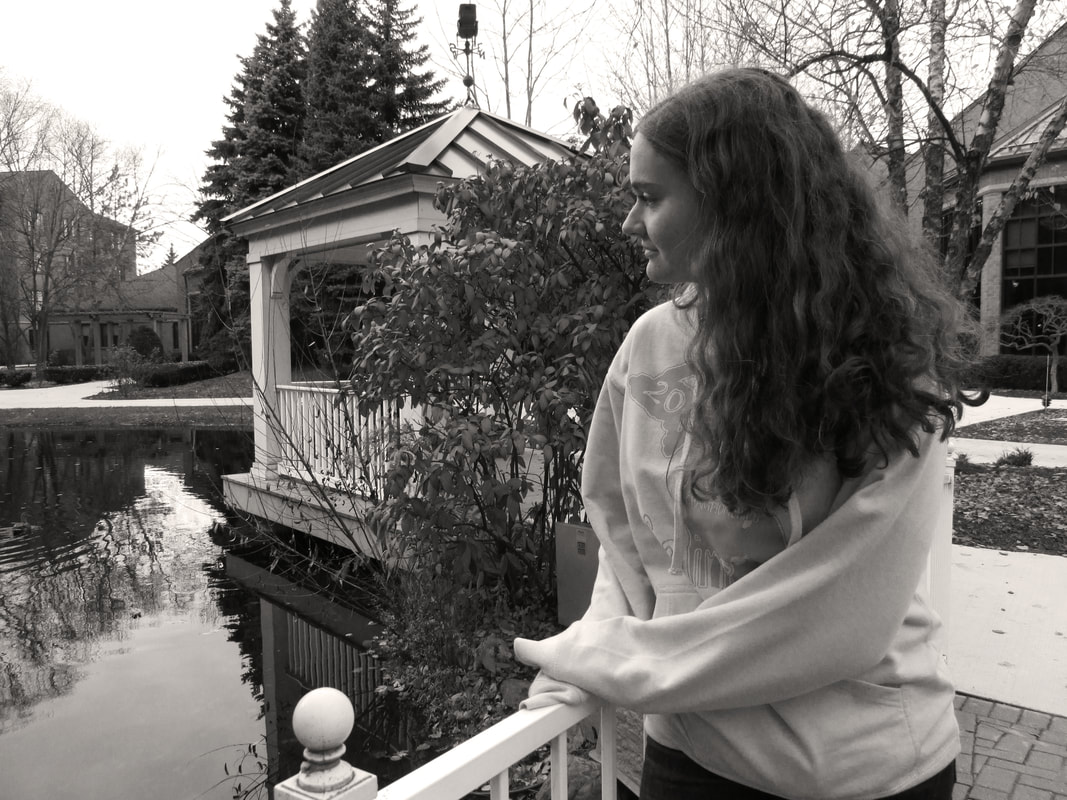
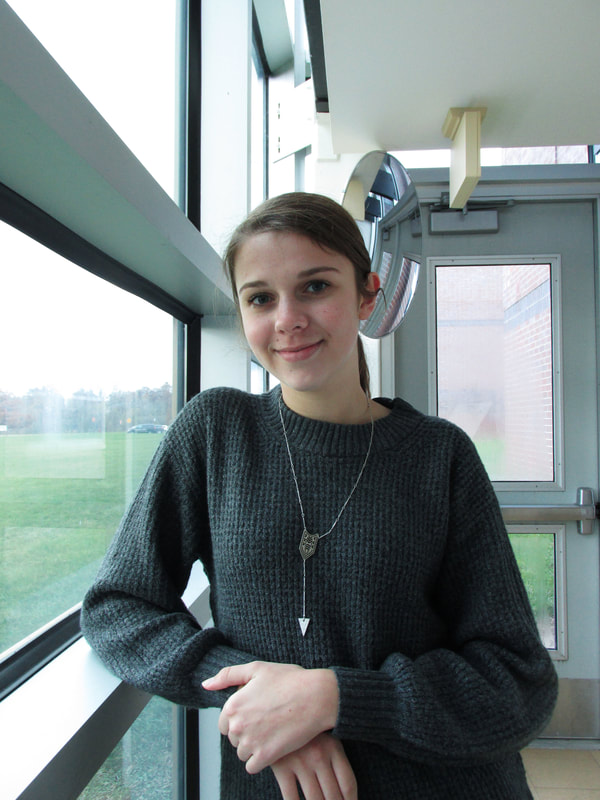
Above is the evidence of my tremendous growth, from that first composition assignment to now.
I walked into the digital photography room as a student, and I walked out of it as a photographer.
0 Comments
This blog post contains two separate Photoshop assignments I have been working on for the past couple of weeks. The first is the pun assignment, where we were instructed to use photos to convey a commonly used saying or pun. The second is the visual dictionary, where we used photos and various Photoshop tools to define a specific word.  Let the cat out of the bag, running out of time, and a blessing in disguise.  Neon and elegant During this assignment, I experimented with different tools in Photoshop. For example, I used a filter for the neon definition to make it look 3D. I also added the canvas texture to the background of the elegant definition.
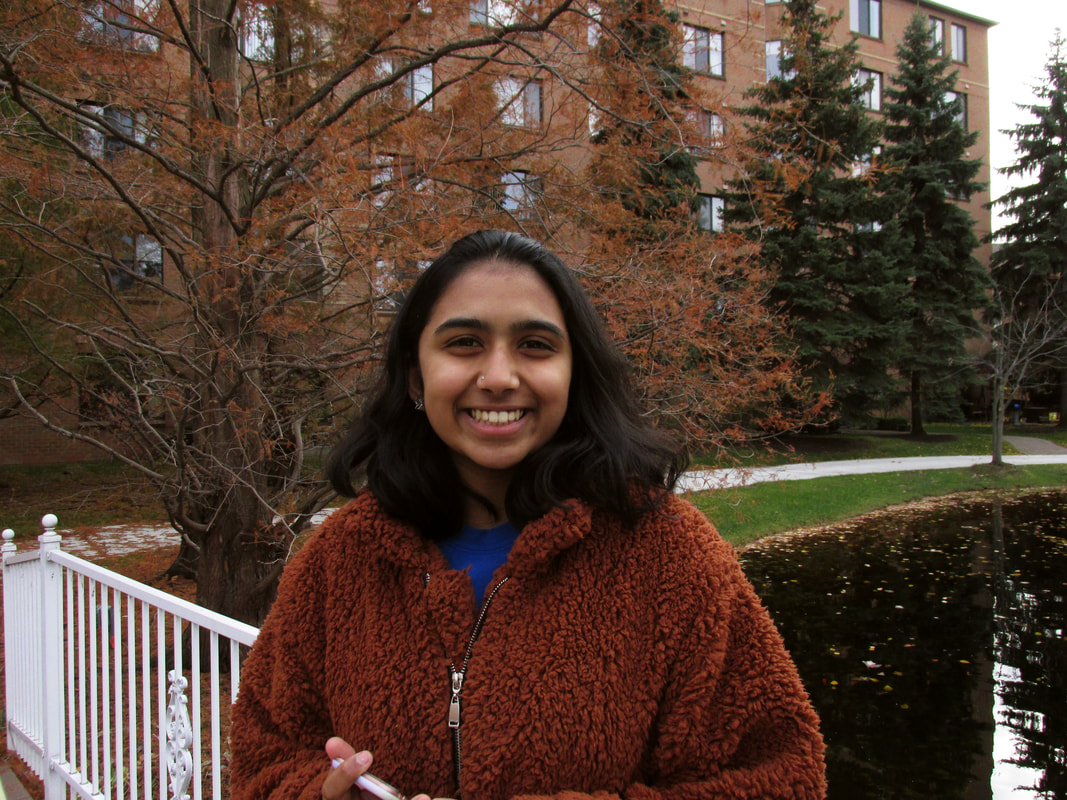
For my seventh and last shooting assignment, I decided to continue the portrait photography from last week and take photos of my friends Josie and Mrinalini. These photos were taken before our Saline Fiddler show on Sunday. One thing I noticed while taking the photos was that it was hard to get a real, candid shot of them. 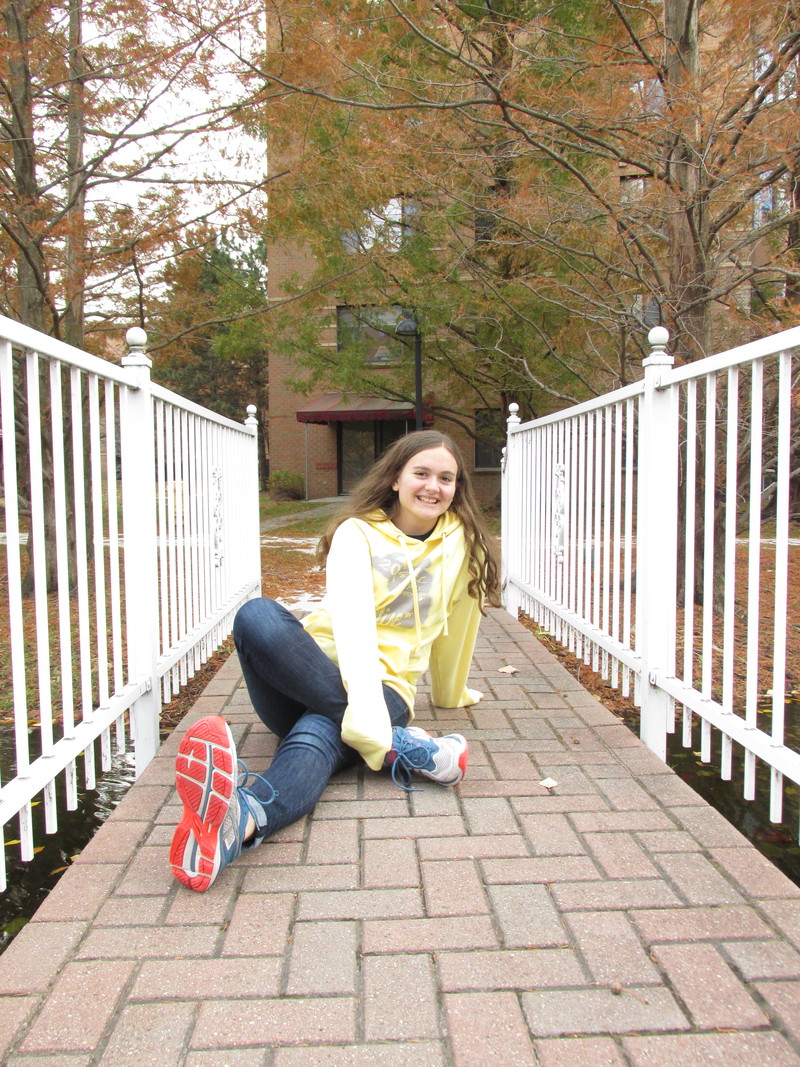 Original Photo 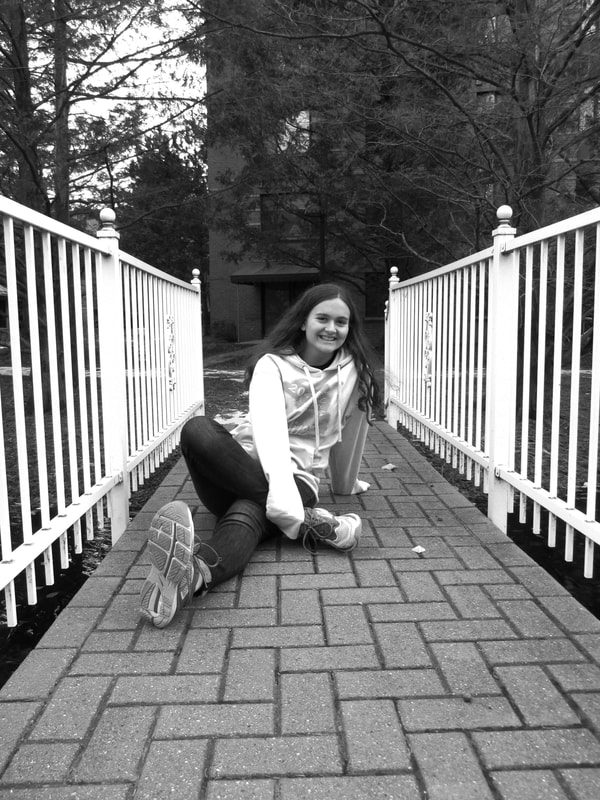 Edited Photo f/3.5, 1/125, ISO 200 The Photoshop editing I did was desaturating, darkening, and increasing the contrast. What I learned from this assignment was how to work with my surroundings and use them to my advantage.
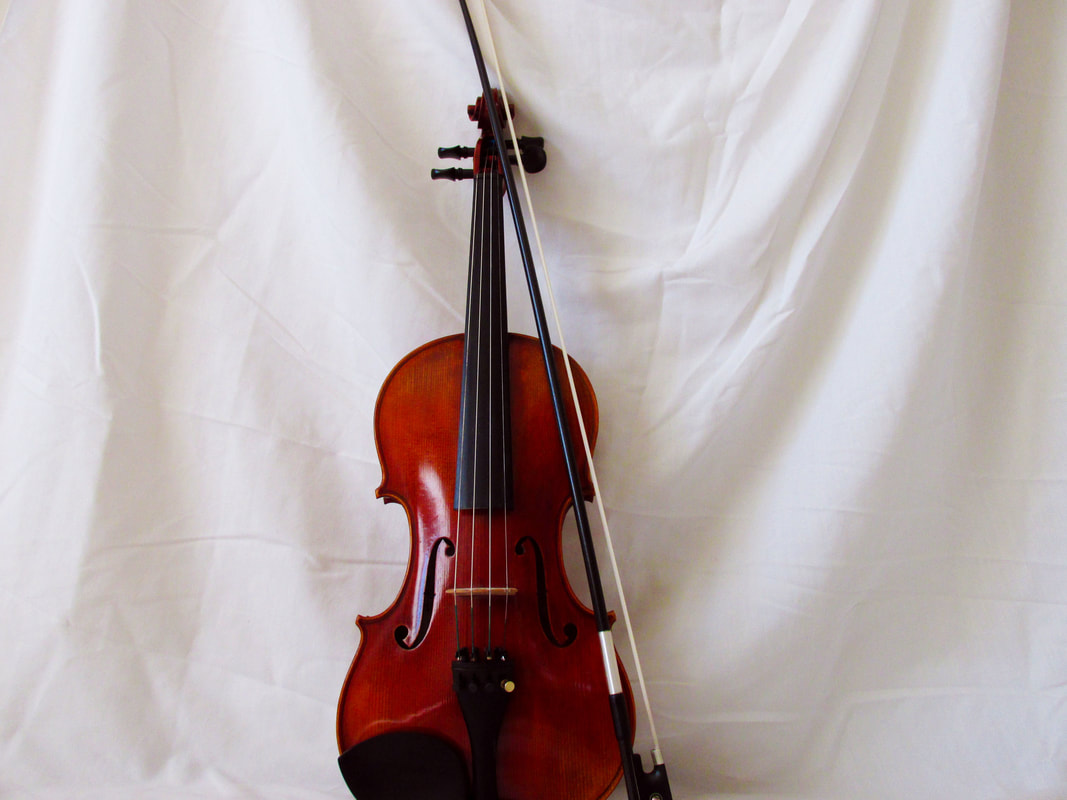
For this Photoshop assignment, we were instructed to experiment with portrait photography, and put the best results into a single spread in Photoshop. We had to take two different styles of portrait photographs; Using the studio, and using natural light and a bounce card.
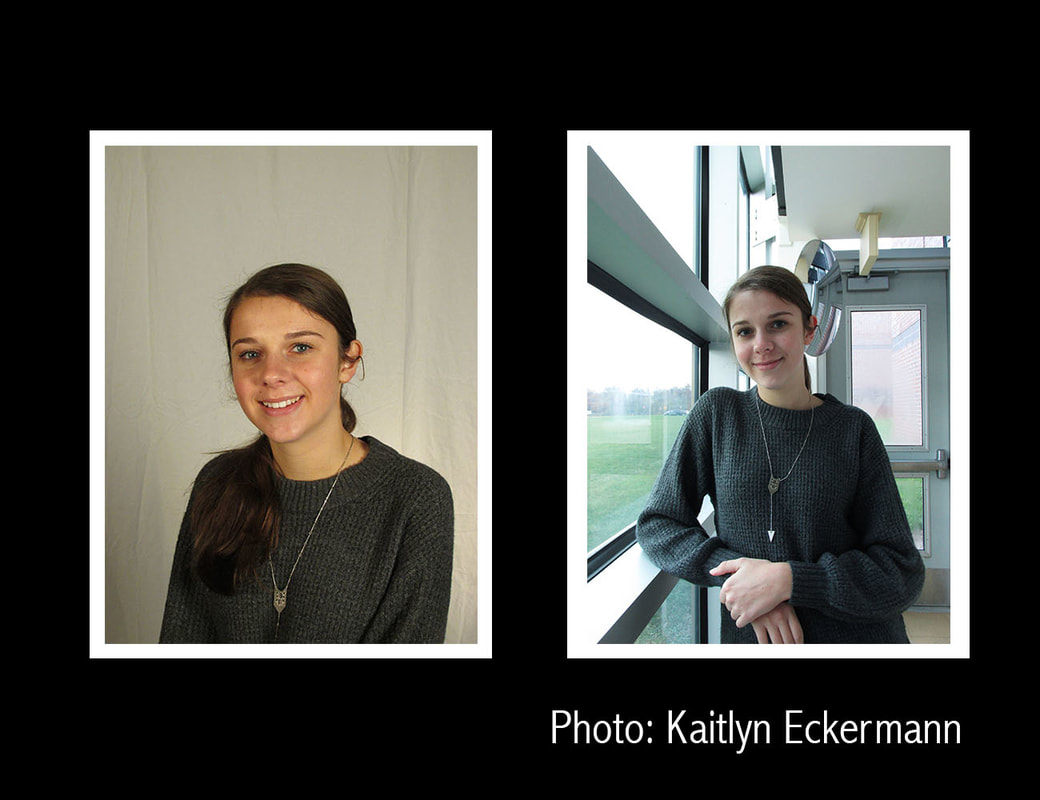 Photoshopped Final Result During this assignment, I learned how to use a studio and a bounce card to take portrait photos.
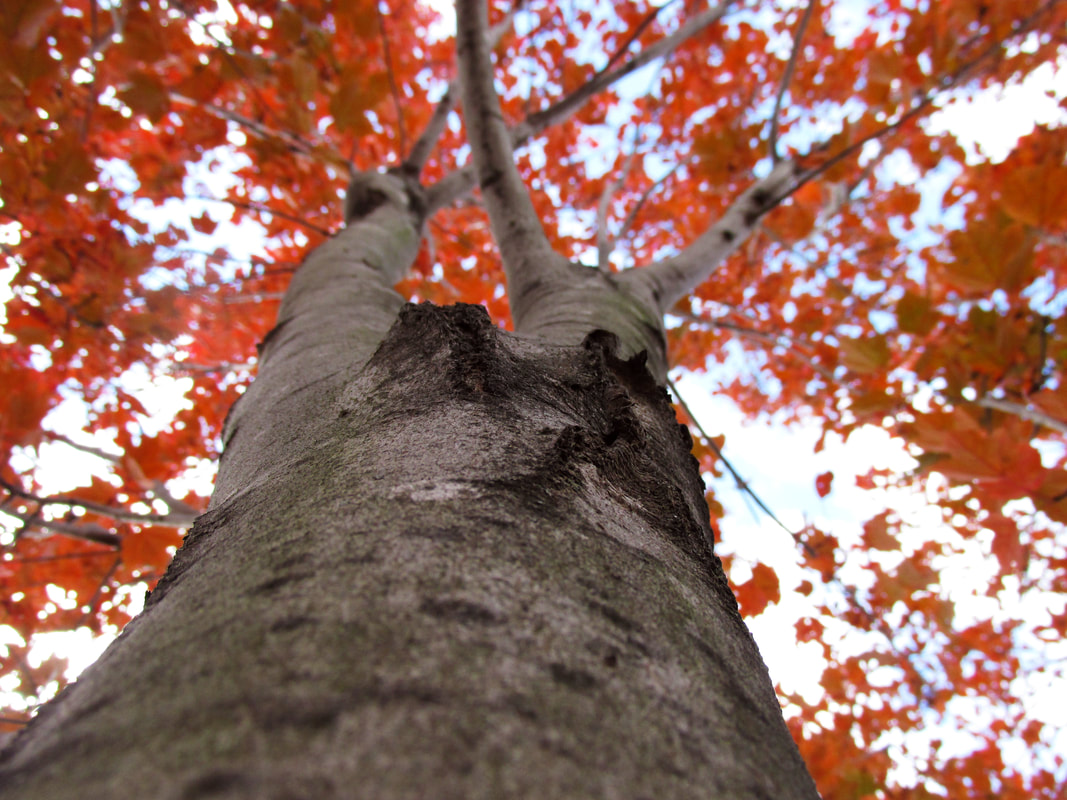
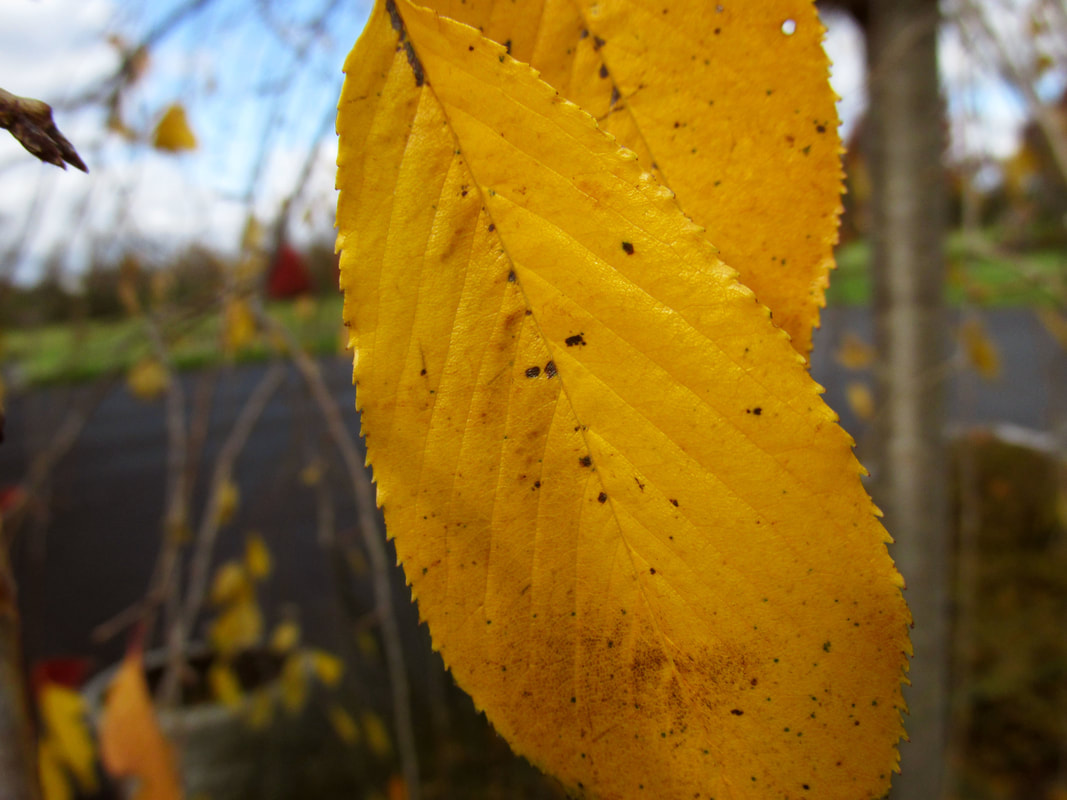
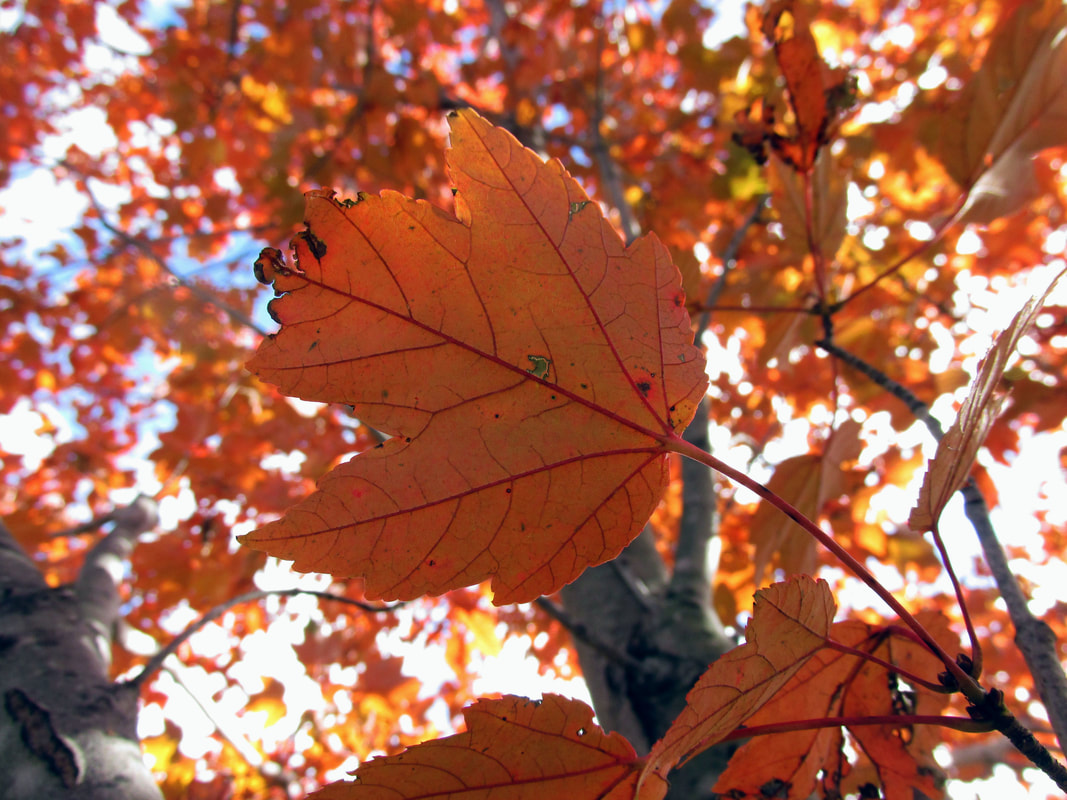
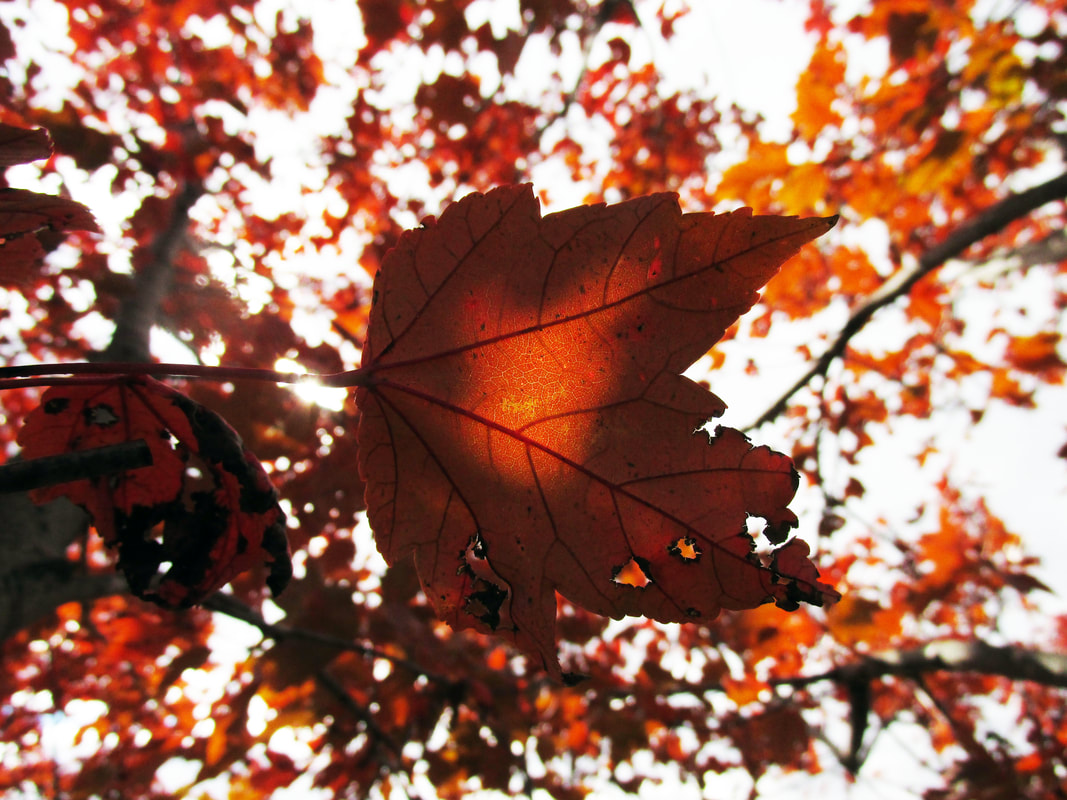
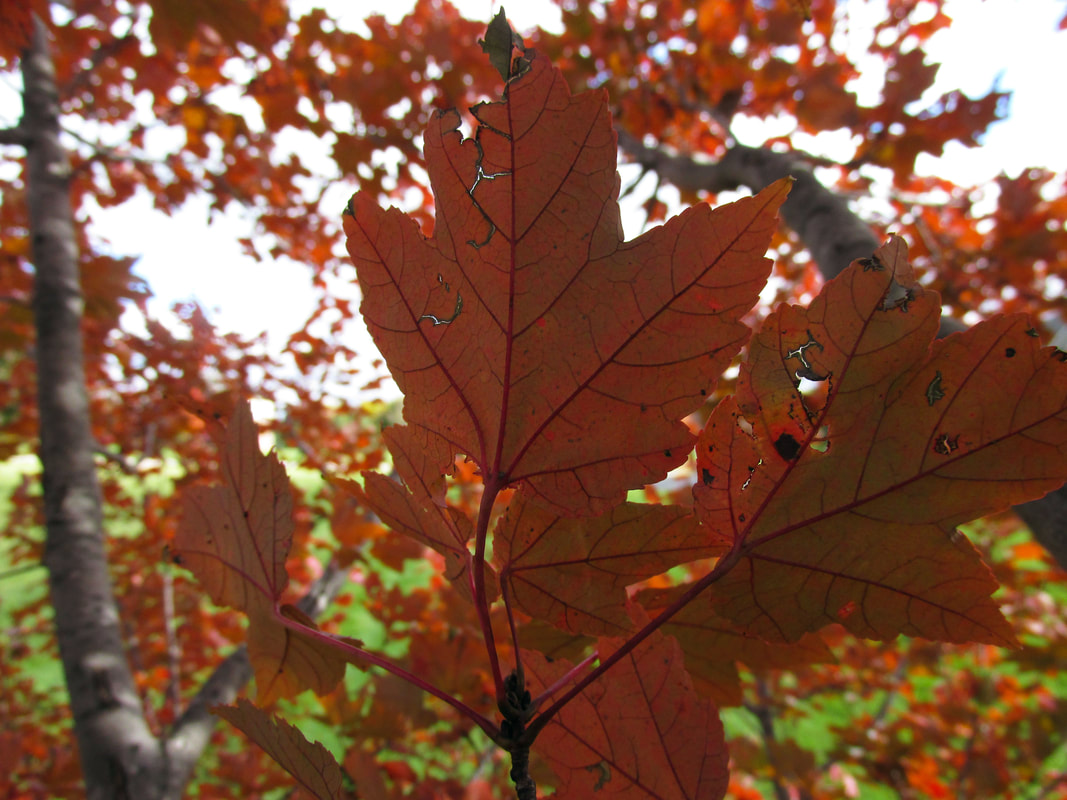
With all the beautiful fall colors outside, nature was the most obvious category for my sixth shooting assignment. I had so much fun spending time outdoors taking pictures. One difficulty I faced while photographing was the wind. The leaves kept moving, so it was kind of hard to focus on them.  Original Photo  Edited Photo f/3.5, 1/125, ISO 100 Photoshop editing includes increasing contrast, vibrance, and shadows, and decreasing brightness a tiny bit. This Photoshop assignment consists of two different projects. The first, dash of color, is simply just desaturating a photo, then using the history brush to restore the color to a specific point on the photo. The polaroid, however, was a bit more complicated. We had to use the clipping mask, free transform, and layer group to create a photo that resembles a bunch of old polaroid photos.  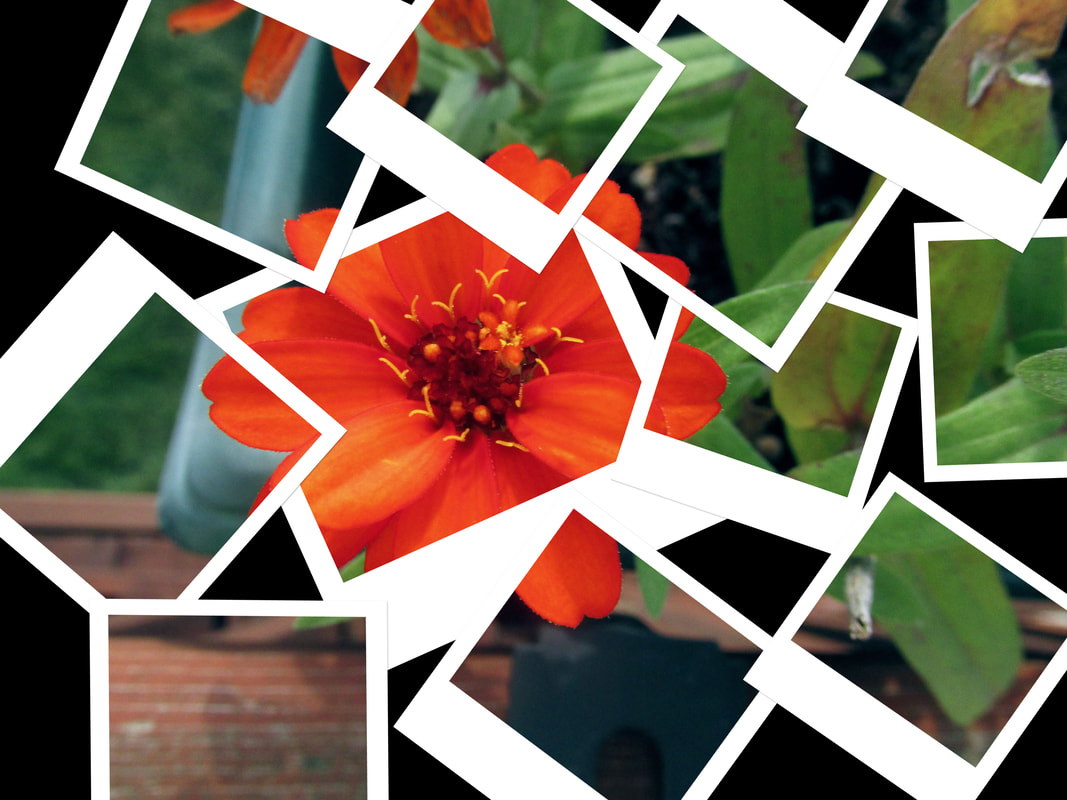 For this fun Photoshop assignment, we were instructed to find a Photoshop tutorial on our own and follow the directions. I did three different ones, because a couple of them were easier to do.
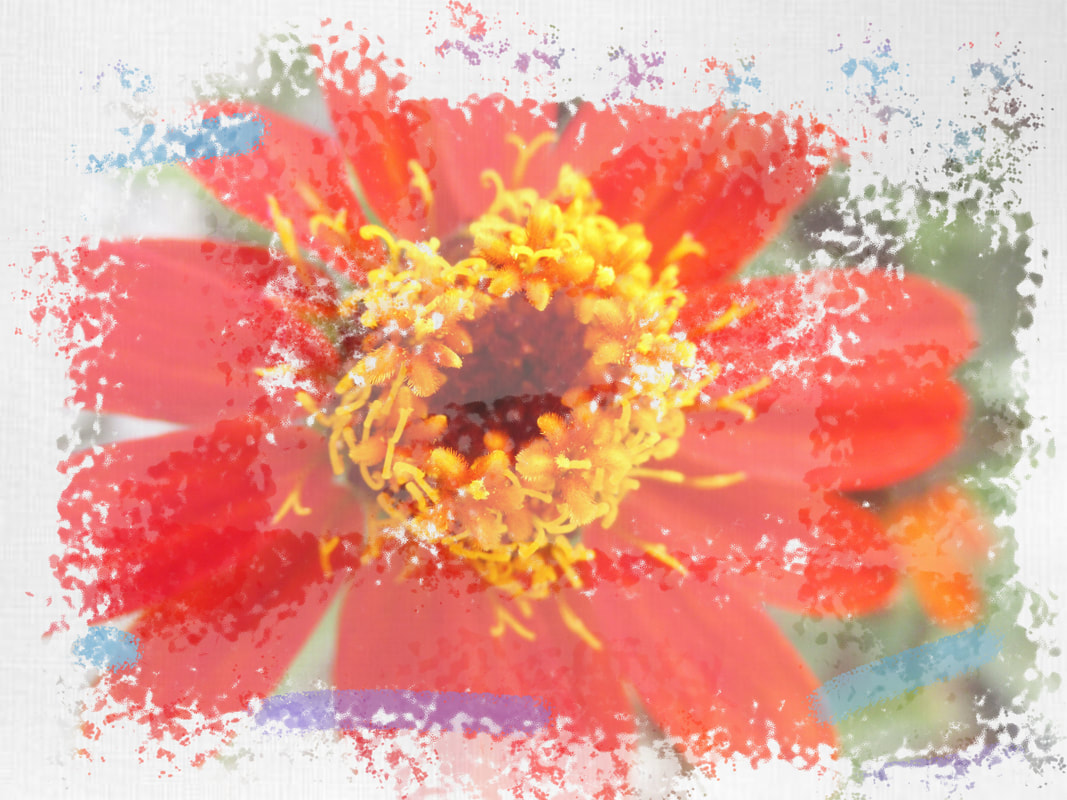
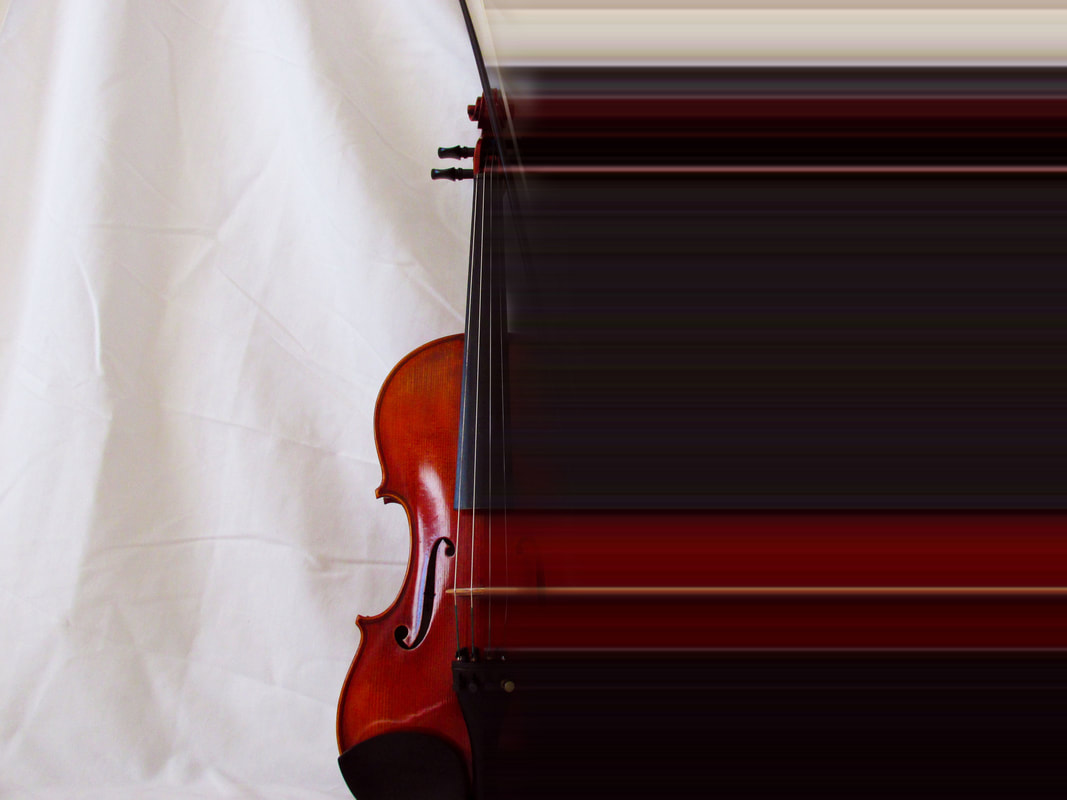
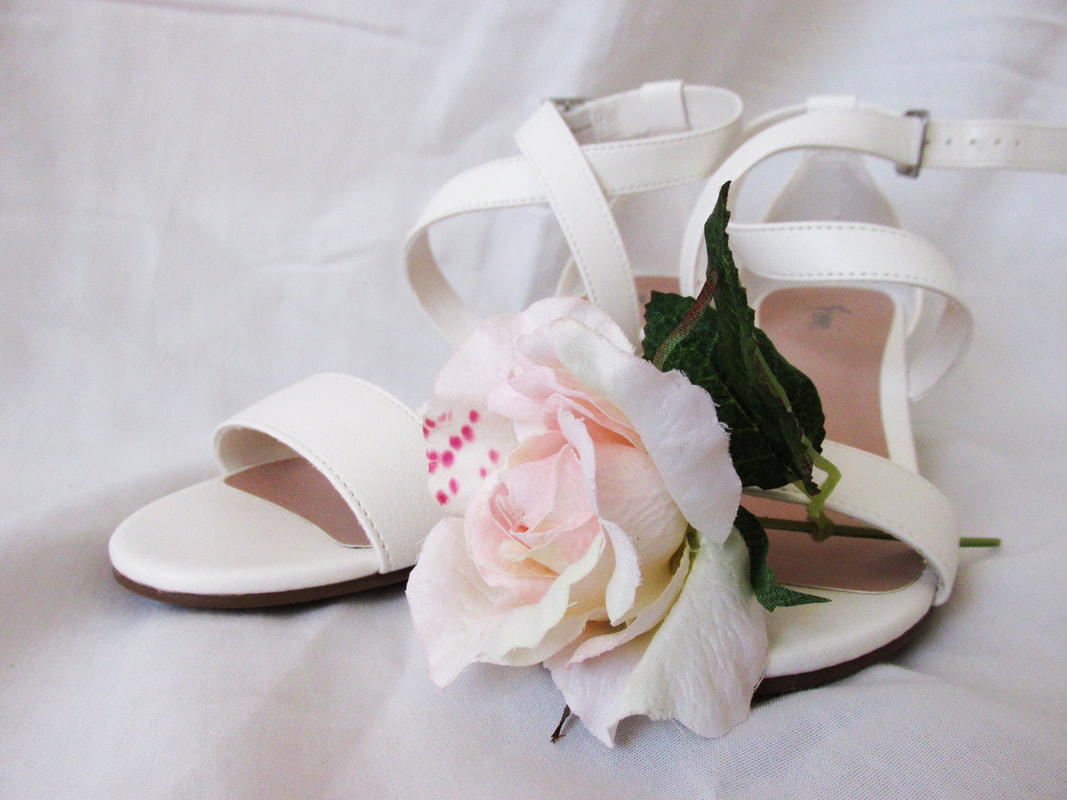 Before 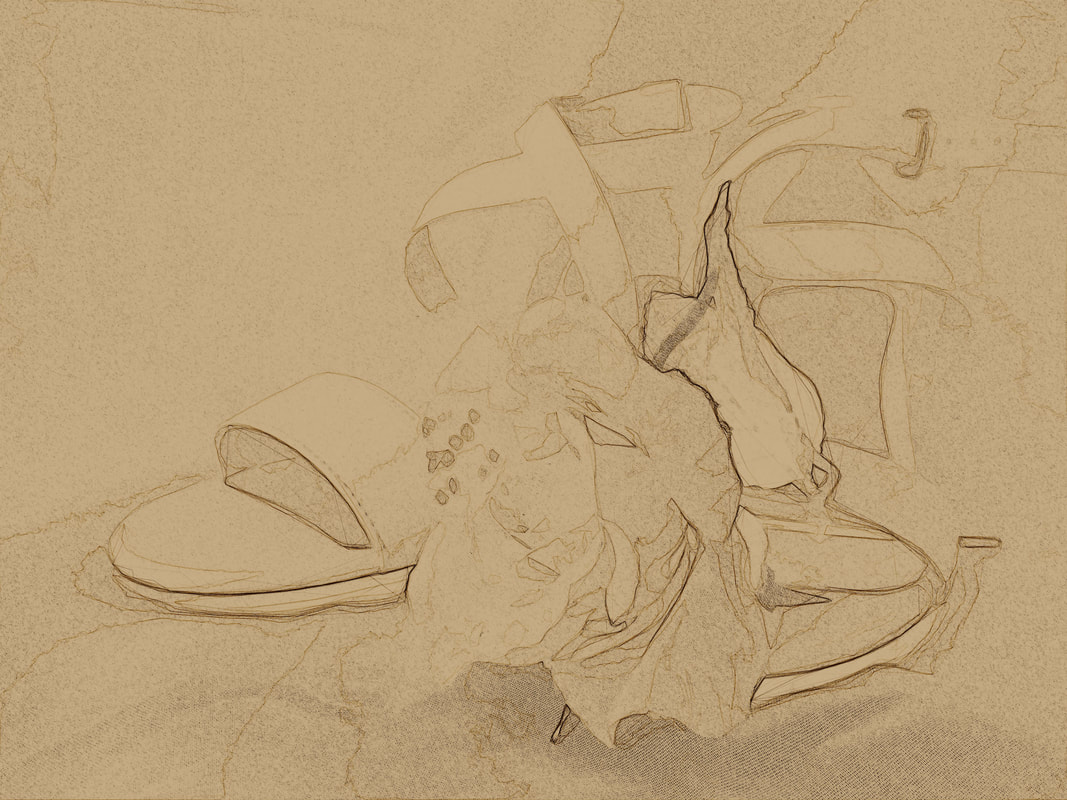 After Link-https://design.tutsplus.com/tutorials/sketch-photoshop-effect--cms-27461 I learned how to use SO many more tools in Photoshop because of this assignment. For the watercolor effect one, I learned how to use the texturizer, and how to upload new background textures. During the blur streaks tutorial, I experimented with single column selection and free transform. The last one, however, was definitely the hardest. It took me 1 1/2 class periods. I used 2 filters (photocopy, crosshatch, angled strokes, and cutout), and I changed the blending mode multiple times (I used multiply, color burn, screen, soft light, and hard light. I also used the noise filter, high pass, and the find edges tool. As you can see, the first two were relatively simple. The last one, however, was not.
|